Adding a Rule Nisi Template
GovLink provides the tools to easily add document templates to your filings. Below you will find the steps to add a template to your filing.
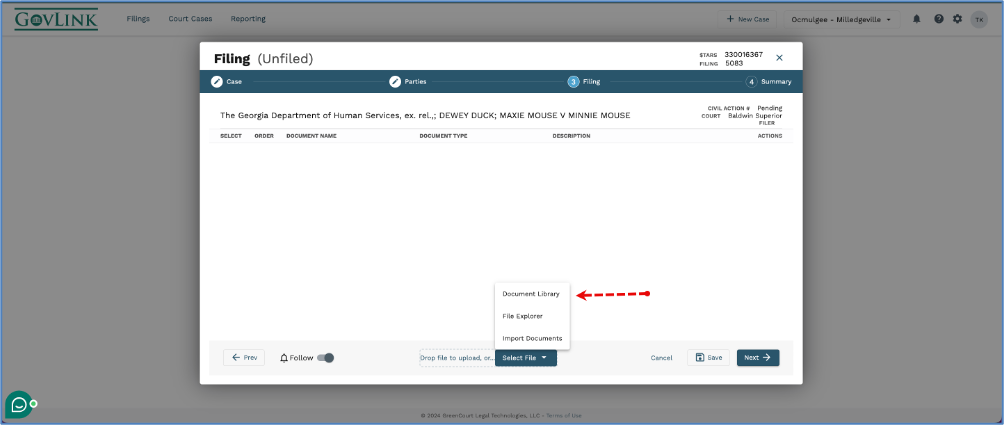
- In step 3, Filing, of the filing stepper click Select File at the bottom of the page, then select Document Library.
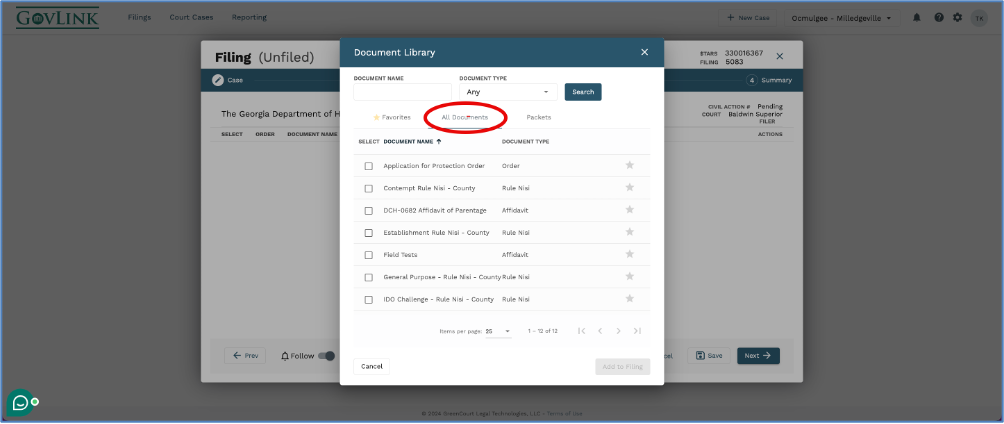
2. When the Document Library opens, it will default to the Favorites page. You will need to click All Documents to show all available document templates.
* To add a template to your Favorites simply click on the star icon
3. Click on the check box to select one or more templates to be added, then select Add to Filing
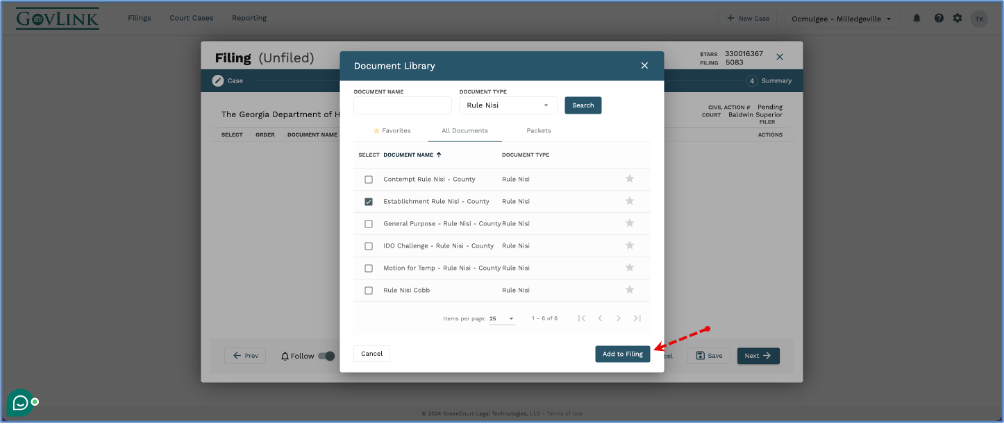
4. Your selected template(s) will be added to the filing.
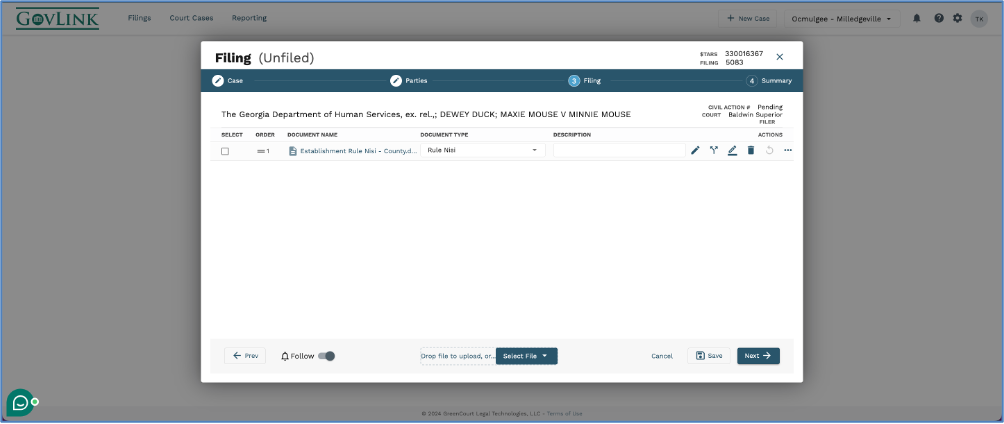
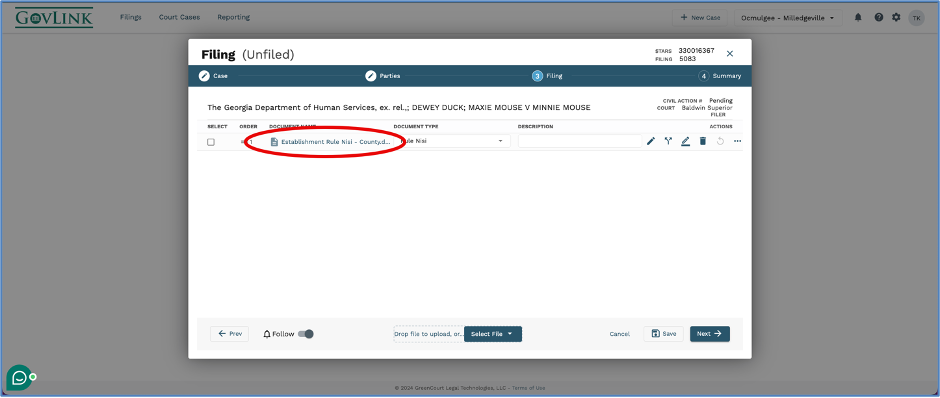
5. Once the template has been added to the filing you can click the document name to see the Clerk’s signature that has been added to the document.
*All editing options are available for the template(s) that you add to the filing.