Rework Documents
1. Filter to the “Rejected” filing status at the top of the dashboard.

2. Users can search and simply click into the case they wish to rework.
3. To rework the filing, the user will need to click the ReWork icon to the far right of the dashboard for that case.

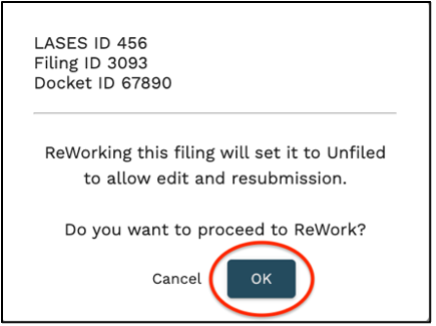
4. Click ‘OK’ in the pop up to confirm you would like to proceed with the Rework.
5. After clicking OK, the Filing Stepper will be loaded to step #6, summary. Here, users can view the rejection reason by hovering your mouse over the red exclamation point at the top of the Filing Stepper. It will also be listed in the case history section of the summary tab.

6. Using the rejection reasons as your guide, edit, delete, split, sign, and/or add documents as needed. If a document is locked and needs to be edited, click the Rework icon next to that document in order to unlock it and then you can proceed to edit, split, or sign as usual.
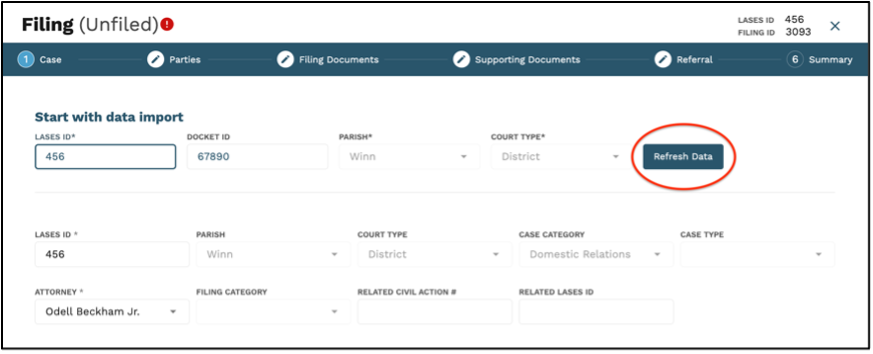
7. If the rejection reason has to do with incorrect Case information or Party information, users will need to make those necessary changes in LASES first. When finished, click ‘Refresh Data’ on step #1, case to import the corrected information.
8. Once you have made the necessary changes to the filing, proceed to the next step in your workflow for this Filing just like you would if it were the first time you were working on it. I.E., assign to the next person who should work on or review it, make your Internal and/or LASES CAL Update Log notes, or download to file.