Quick Guide: File into Existing Case
See the “Find an Existing Case” section to locate the Case to file into.

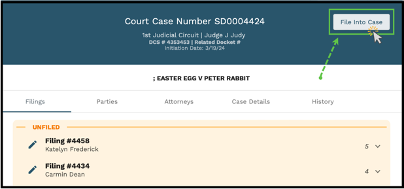
Once located:
- Click “File Into Case” to launch the Filing Wizard.
- The Case and Party information will auto populate based on the existing case data.
- Drag and Drop the Document into the Drop Zone or click “Select File” to choose files from the user’s system.

- Select the Document Type from the drop-down list.
- This is a required field.
- Add a description into the description field.
- This is an optional field.

- Click “Next” to proceed to the Summary tab.
Tips and Tricks: Click the “Follow” icon to turn notifications for this case on or off.

Summary
- Review the Documents and other pertinent Case information.

 To assign this filing to a different user, select that User’s name from the drop-down box.
- Add any internal notes.
- This is optional and only visible within GovLink.
- When ready to File to the Court (permissions based) – Click the Checkbox next to “I consent to sign and deliver these documents to (Court Name)”
- Click File.
To exit the File Wizard, select “Save” and close.