Quick Guide: Creating a New Case
To create a New Case –
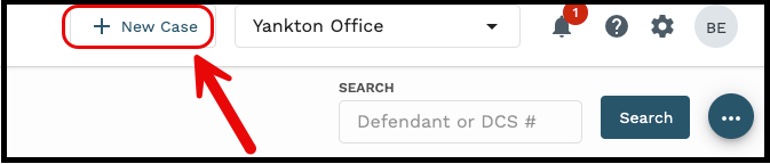
- Click the “New Case” button at the top right of the Dashboard to launch the Case Wizard.
Step One – Case
- Enter the DCS #
- Select the corresponding County, Court Type, Case Category and Case Type from the dropdown fields.
- Select the Attorney and Filing Category.
- Enter in the Related Docket # and Related DCS # (if applicable)
- Select the Hearing Officer Name from the dropdown or leave as Pending.
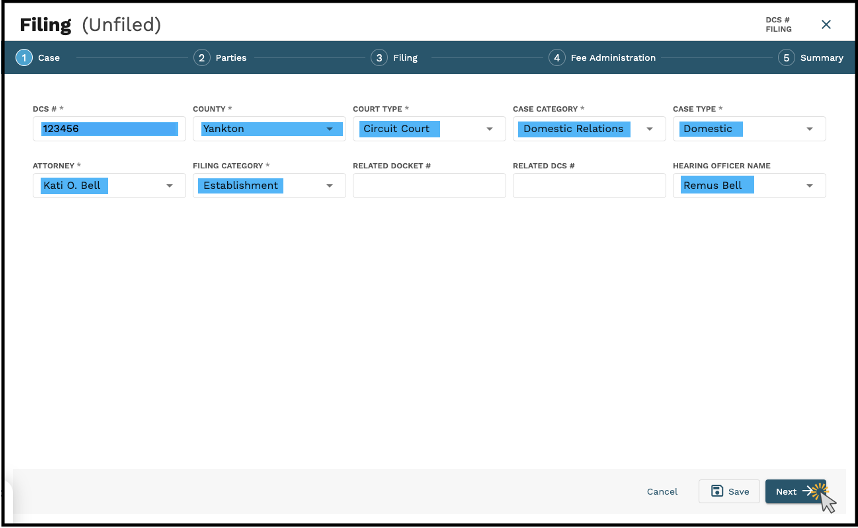
- Click Save to save progress and exit the wizard to finish later OR click Next to proceed to the Parties tab.

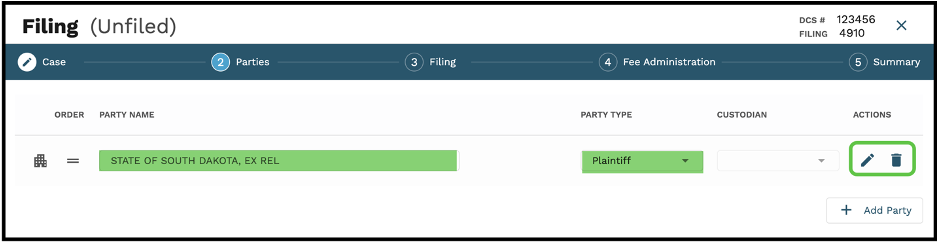
Step Two – Parties
On the Parties tab, the “State of South Dakota, Ex Rel” will automatically default as the Party Name and “Plaintiff” as the Party Type.
- This can be Edited or Deleted by utilizing the Actions to the right.
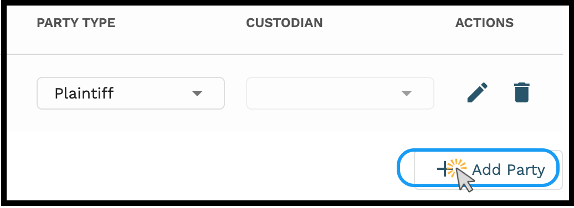
To add additional parties –
- Click “Add Party”
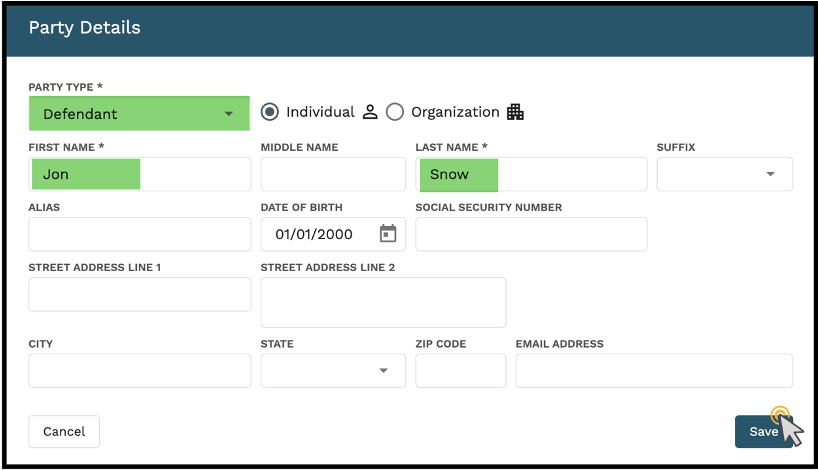
- Select the Party Type from the dropdown
- Enter the First Name, Last Name, and any other pertinent information of the Party.
- Select Save to continue
- Select “Custodial or Non-Custodial” from the Custodian dropdown
- To add any additional parties, select Add Party and repeat the prior steps.

- Select Next to continue to the Filing tab.
Note: To receive Notifications on action taken on this case, select the toggle button next to “Follow”.

Step Three – Filing
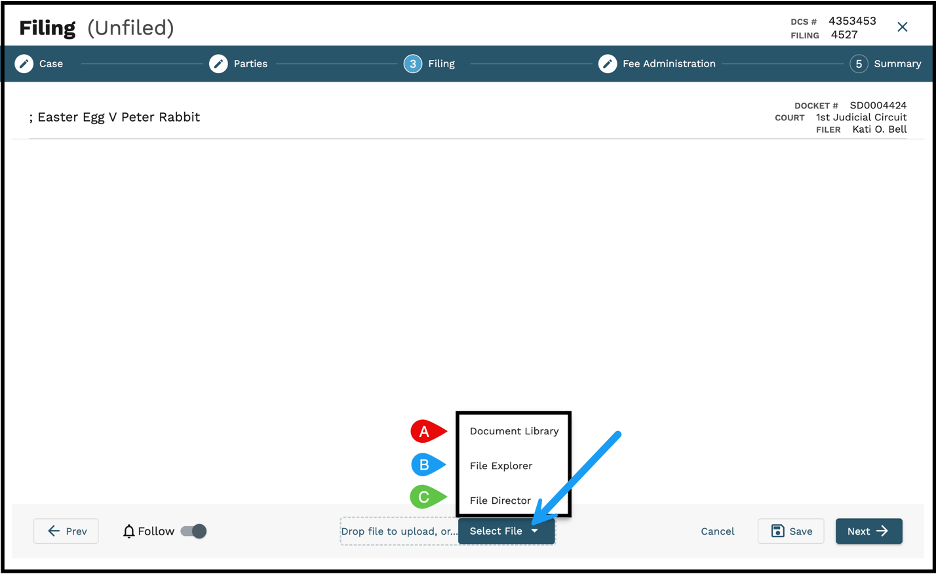
- To add documents to the Filing, click “Select File”
- The user will be able to select from three options: Document Library, File Explorer, and File Director.
Document Library
The Document Library allows the User to utilize pre-built Templates inside of GovLink. Prior Data entered in the creation process with automatically populate inside the Template.
To add a Template document to a filing –
- Select “Document Library”
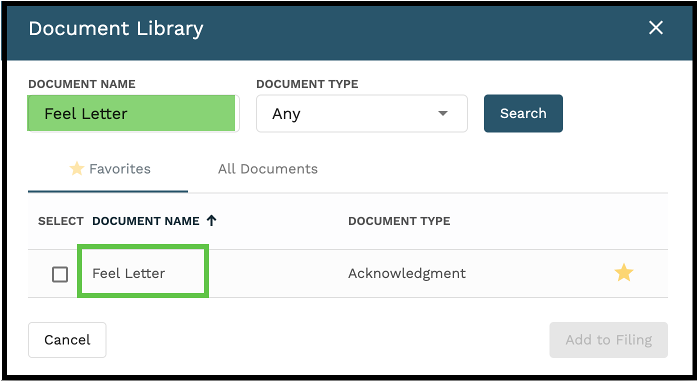
The Document Library window will populate, allowing the User to search by Document Name, Document Type, choose from the User’s Favorites, or select from “All Documents”.
To search by Document Name –
- Enter the Document Name
- Select Search
To search by Document Type –
- Select the Document Type from the dropdown
- Select Search
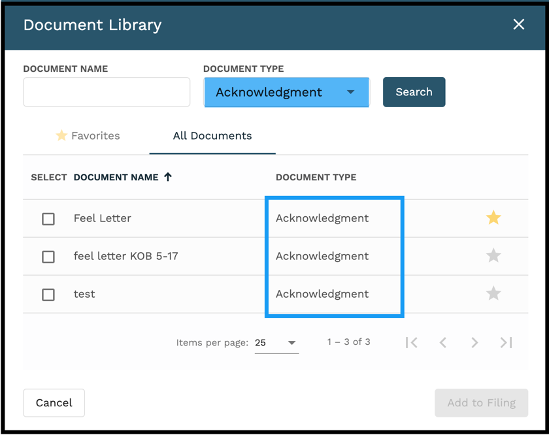
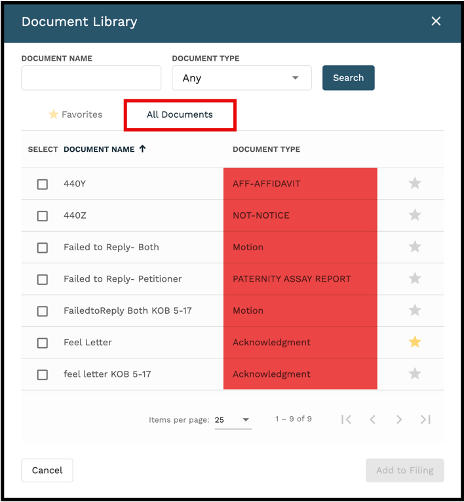
To view all documents in the Document Library –
- Select “All Documents”
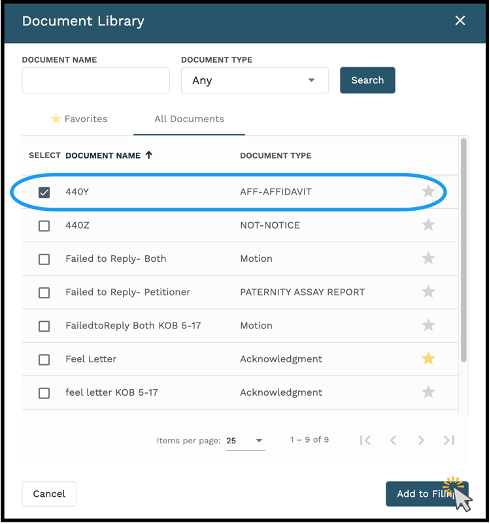
Once the user has located the Document they want to use:
- Select the checkbox next to the Document Name
- Click “Add to Filing”
File Explorer
File Explorer allows the user to bring in Files from their Local drive. The user can drag and drop documents or select them individually.
File Director
File Director allows the user to upload Files by importing them to GovLink.
- Select File Director
- Select the Document(s) to import
- Click on “Import to GovLink Filing”
Once the user has selected the Documents they want to attach, they will be listed under the Filing section of the Stepper.
- The Document Type can be selected from the prefilled options.
- The user can also enter a Description in the field.
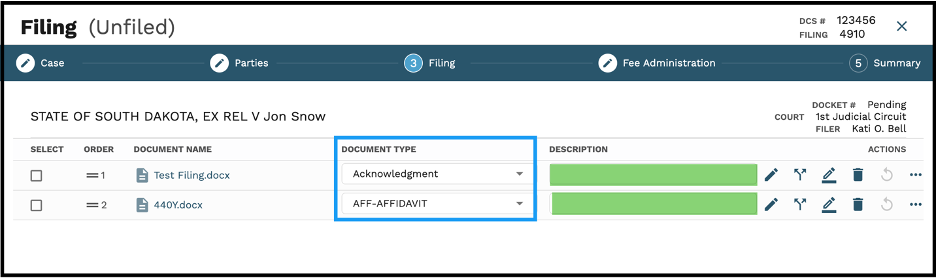
- Select Next to continue to the Fee Administration section.
Document Editing Tools
All Documents uploaded into the Case can be edited using the tools next to each Document name.
- Edit – Click the Edit icon to make edits on the document.

- Split – Click the Split icon to split a multi-page document into separate documents.

- Combine – Select the documents and click the combine icon to merge documents.

- Sign – Click the Sign icon to insert electronic signatures/initials into the document.

- Rework – Click the ReWork icon to remove all signatures to a document and revert the document back to its original format.

- Delete – Click the Delete icon to delete an unfiled document.

- Rotate – Click the Rotate icon to turn individual pdf documents any direction within GovLink
Step Four – Fee Administration
Fee Administration allows the user to choose who is responsible for the associated fees, as well as the payment account type.
- Select the Party Responsible for Fees from the dropdown
- Select the Payment Account Type from the dropdown
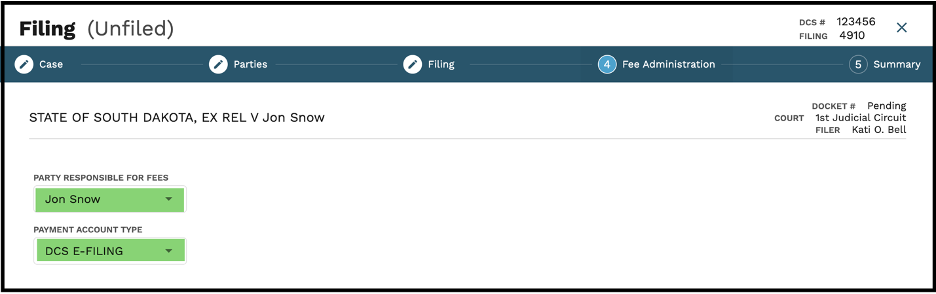
- Select Next to continue
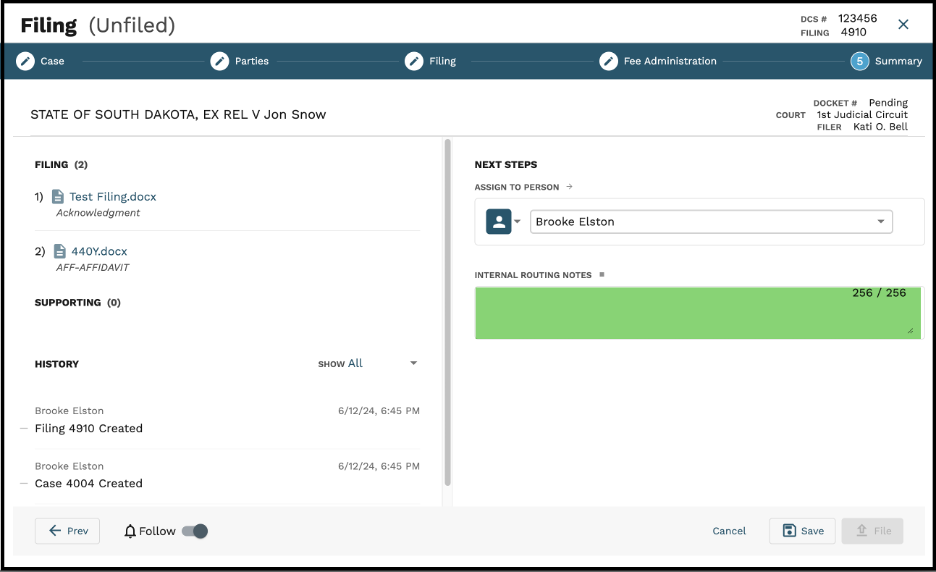
Step Five – Summary
The Summary screen is where the user can access all information input in the Document Stepper wizard, as well as the History of the Document, Assignee, Internal Routing Notes, and Filing.
To assign the Filing –
- Select the corresponding person from the dropdown
- Select Save to exit the Document Stepper wizard.