How to Add, View, and Edit the Parties
NOTE: Once a filing has been sent to the court, the party information cannot be changed.
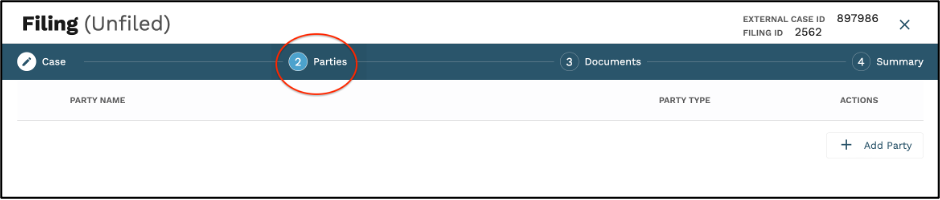
1. When starting a new case, the user will need to manually input the party information in step 2 of the filing stepper.
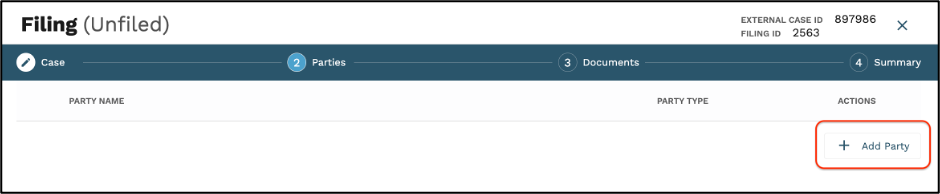
2. Click the Add Party button.
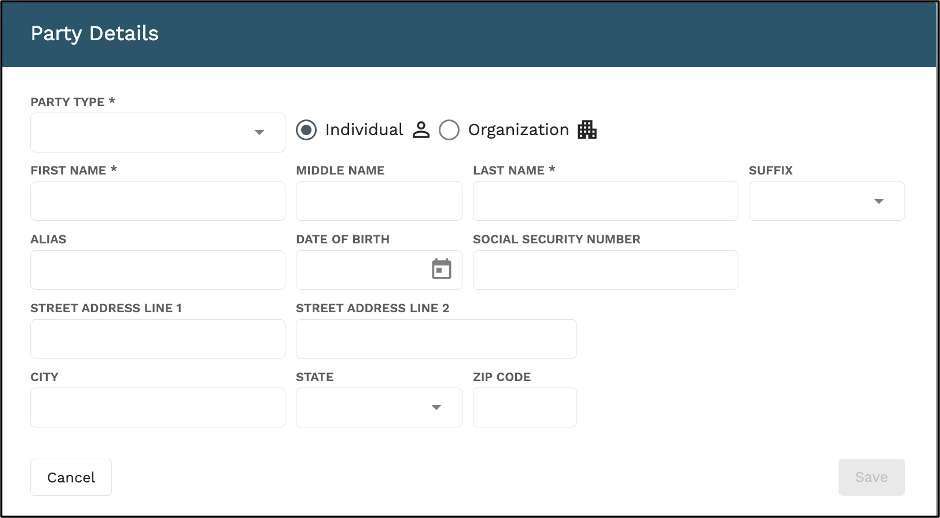
3. Select the Party Type and enter in the party information in the fields provided. Click Save.
4. To view individual party information, hoover your mouse over the person icon to the left of the party name.
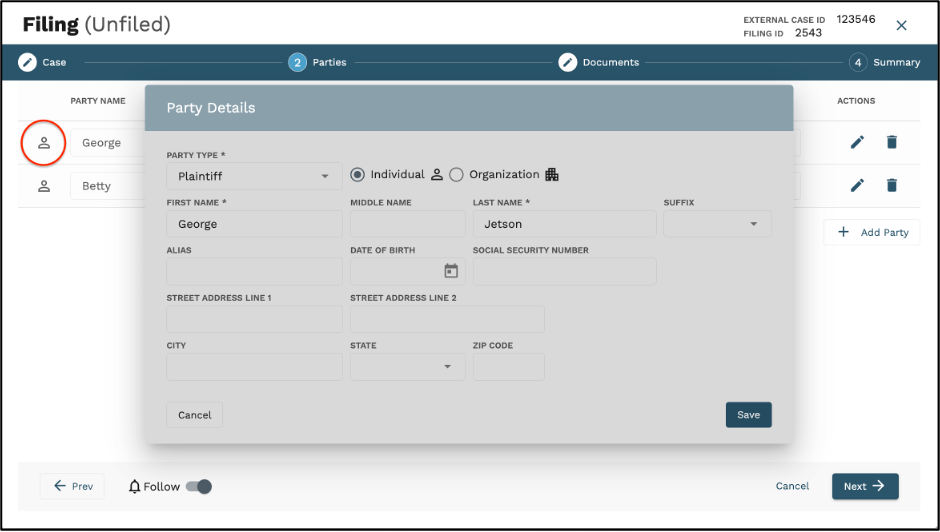
5. If any of the party information is incorrect and needs to be edited, click the edit icon located in the Actions options for each party.
6. To delete a party, click the delete icon located in the Actions list for each party.