How to Generate a Filing Status Change Report
**Appropriate permissions must be given for a user to access this report
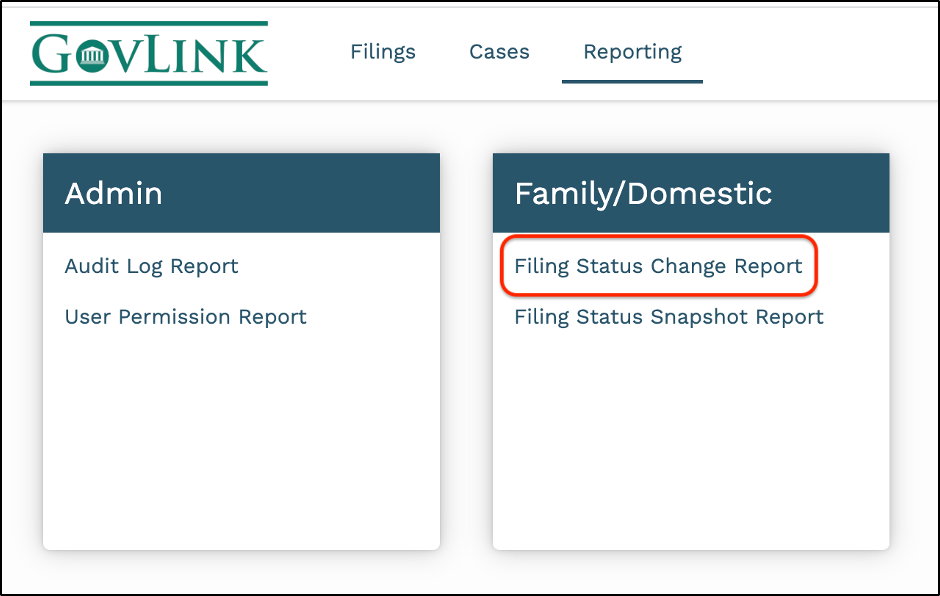
1. Click the Reporting tab at the top of the screen.

2. Within the Family/ Domestic folder, click the Filing Status Change Report option.
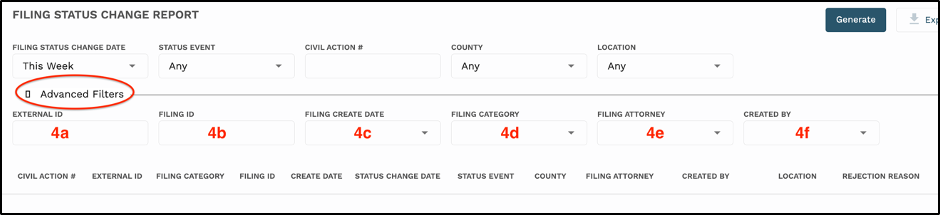
3. Users will be able to generate a report based on the filing status and will be able to filter the report based on the following criteria:
a. Filing Status Change Date: The user will be able to specify a timeframe, with a max of 90 days.
b. Status Event: The user can choose between the following events: Filing Accepted, Filing Created, Filing Rejected, Filing Reworked, Filing Submitted, or All Status Events
c. Civil Action #: Look at all status events made to a specific civil action number within the specified date range.
d. County: The county field will filter the report to reflect filings for specific locations within the specified date range.
e. Location: The location field will filter the report to reflect filings for specific districts within the specified date range.

4. Advanced Filter Options:
a. External ID: Displays any activity for a specific POSSE number within GovLink within the specified date range.
b. Filing ID: Displays any activity for a specific Filing ID for a case within the specified date range.
c. Filing Create Date: Look at all filings that we’re created on a specific date within the specified date range.
d. Filing Category: Generate a report that shows filings that have a specific filing category within the specified date range.
e. Filing Attorney: Displays the filings that were filed by a specific Filing Attorney within the specified date range.
f. Create By: Displays what filings were created by a specific user in the specified date range.
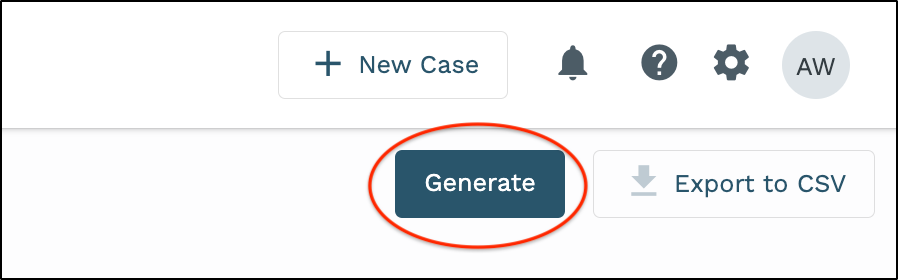
5. Once the criteria has been selected, click “Generate.”
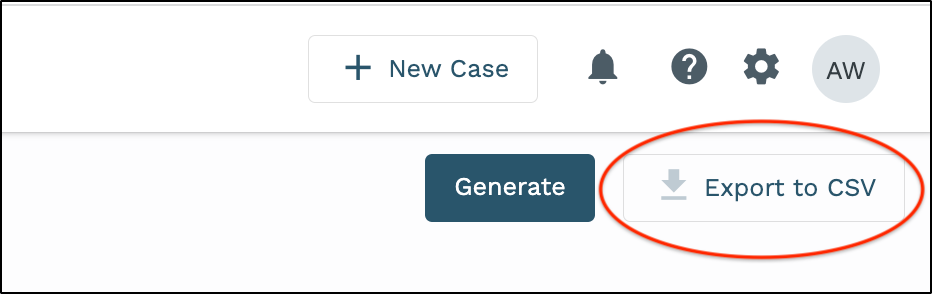
5. To export the report to an excel file onto your desktop, click “Export to CSV.”