Manually Change a Filing Status to Rejected
1. To manually change a filing status, the filing must first be in the “submitted” file. This means the filing has been downloaded and submitted to the court

2. Locate the needed filing on the right of the screen by searching the defendant’s name or POSSE number.

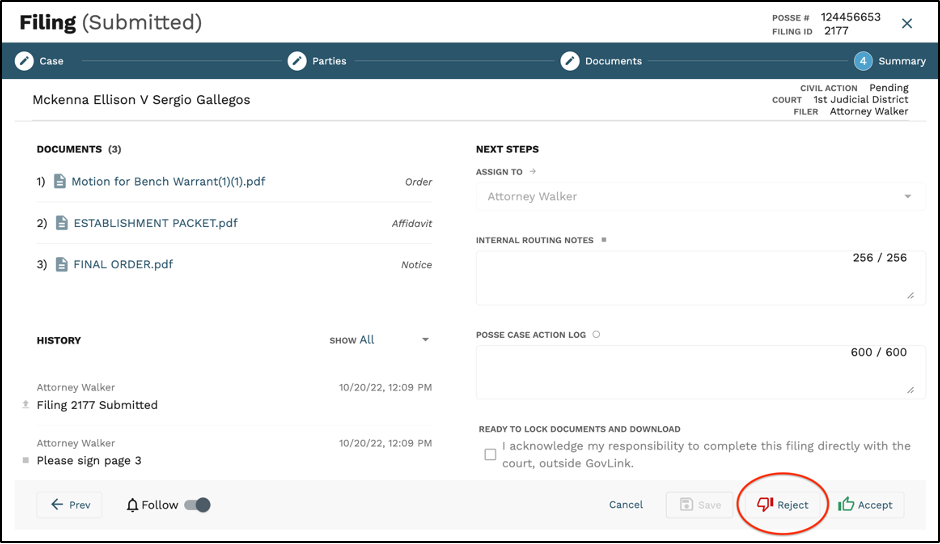
2. Click once on the intended case and you will be taken to step 4 in the filing stepper for that case.
3. At the bottom of the Summary screen, click the “Reject” button.
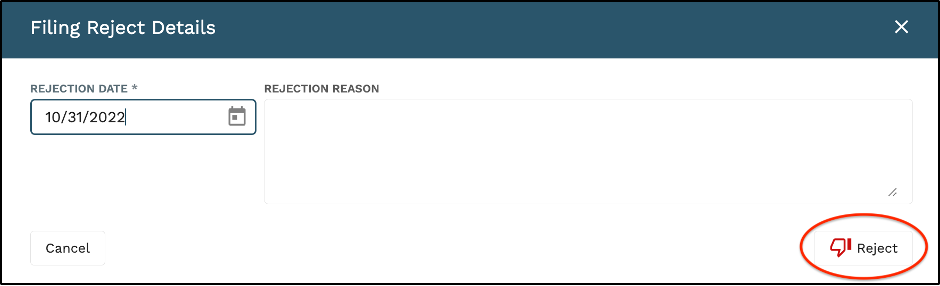
4. In the pop up, enter the date of rejection and the rejection reason and click the “Reject” button.
5. This filling will now appear under the “Rejected” status on your dashboard.
